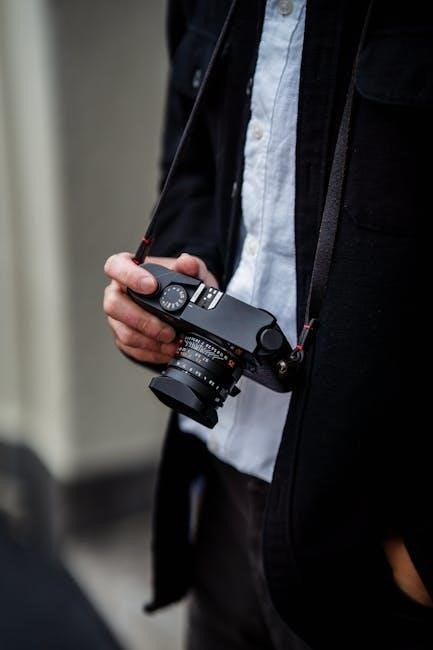
Mastering manual settings is essential for capturing stunning outdoor photos, allowing precise control over exposure, depth, and motion․ Understanding aperture, shutter speed, and ISO ensures vivid, professional results in any lighting condition․
Importance of Mastering Manual Mode
Mastering manual mode empowers photographers to take full control of their camera, ensuring precise adjustments to aperture, shutter speed, and ISO․ This control is vital for capturing images that match your creative vision, especially in unpredictable outdoor lighting․ By understanding how to balance these settings, you can achieve professional-quality results, whether freezing motion, creating blur, or maintaining sharp focus․ Manual mode also enhances creativity, allowing you to adapt to diverse conditions and subjects, from portraits to landscapes, ensuring consistent and stunning outdoor photography outcomes․
Key Components of the Exposure Triangle
The exposure triangle consists of aperture, shutter speed, and ISO, which work together to control light and create balanced images․ Aperture regulates depth of field, shutter speed captures motion, and ISO adjusts sensitivity to light․ Mastering these elements is crucial for outdoor photography, where lighting conditions can vary dramatically․ By understanding their interplay, photographers can achieve precise control over exposure, ensuring vibrant colors, sharp focus, and optimal results in any setting, from bright landscapes to low-light portraits․

Aperture Settings for Outdoor Photography
Aperture is a fundamental setting controlling depth of field; Lower f-stops (f/2․8-f/5․6) isolate subjects, while higher f-stops (f/8-f/16) ensure sharp landscapes, balancing creativity and technical precision in outdoor shots․
Understanding Aperture and Depth of Field
Aperture refers to the camera lens opening, regulating light entry․ A lower f-stop (e․g․, f/2․8) creates a shallow depth of field, blurring backgrounds, ideal for portraits․ Conversely, a higher f-stop (e․g․, f/11) ensures a deeper focus, keeping landscapes sharp; Balancing these settings allows photographers to emphasize subjects or capture expansive scenes with clarity, enhancing visual storytelling in outdoor photography․
Best Aperture Values for Portraits
For outdoor portraits, apertures between f/1․8 and f/5․6 are ideal, providing a balance of sharpness and background blur․ Lower f-stops like f/2․8 create a shallow depth of field, isolating subjects, while f/4 or f/5․6 ensures more of the face remains sharp․ These settings enhance subject focus, minimizing distractions, and are particularly effective in natural light for professional-looking results․
Optimal Aperture for Landscapes
For outdoor landscapes, an aperture range of f/8 to f/11 is ideal, ensuring a wide depth of field that keeps both foreground and background elements sharp․ This range strikes a balance between sharpness and diffraction, avoiding excessive softening at higher f-stops․ A narrower aperture like f/11 or f/13 is perfect for capturing intricate details in scenes with vast depth, while f/8 provides sufficient sharpness without overcomplicating settings․ Using a tripod is recommended for stability, especially at smaller apertures, to maintain clarity in natural light conditions․
Shutter Speed for Outdoor Photography
Shutter speed controls motion capture in outdoor photography, with fast speeds freezing action and slower speeds creating artistic blur․ Adjusting it balances light and dynamic effects effectively․
Freezing Motion with Fast Shutter Speeds
Fast shutter speeds, such as 1/500th of a second or faster, are ideal for capturing sharp images of moving subjects like wildlife or sports․ This technique ensures crisp details, eliminating motion blur and camera shake․ For instance, in bright daylight, a shutter speed of 1/1000th of a second can freeze even the quickest actions, making it perfect for dynamic outdoor scenes․ However, pairing fast speeds with a wide aperture and lower ISO maintains balanced exposure, preserving image quality without overexposure․
Creating Motion Blur with Slower Shutter Speeds
Slower shutter speeds, such as 1/30th to 1/60th of a second, create motion blur, adding artistic dynamism to images․ This technique is perfect for capturing flowing water, moving clouds, or wildlife in action․ A tripod is essential for stability, preventing camera shake while allowing intentional blur․ Use a narrower aperture and lower ISO in bright conditions to maintain proper exposure․ This approach enhances creativity, conveying movement and energy in outdoor photography while keeping the main subject sharp and focused․
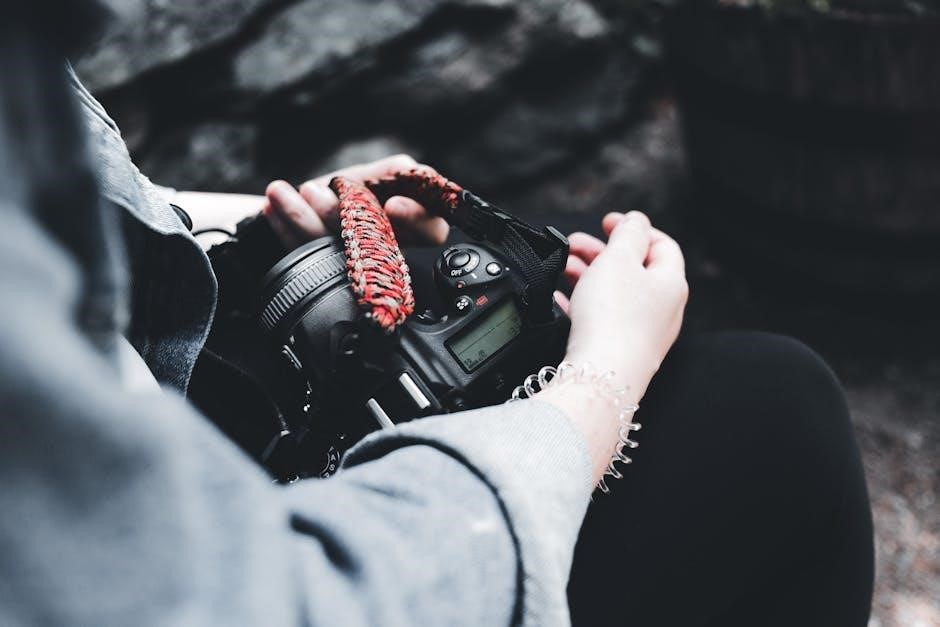
ISO Settings in Outdoor Conditions
ISO settings adjust sensitivity to light․ Lower ISOs (100-400) are ideal for bright days, reducing noise and ensuring sharp images․ Higher ISOs (800-6400) are used in low-light conditions but may introduce noise, affecting image quality․ Balancing ISO with aperture and shutter speed is crucial for optimal results in outdoor photography․
Low ISO for Bright Lighting
Using a low ISO (100-400) is ideal for bright outdoor conditions, as it minimizes noise and ensures crisp, detailed images․ Lower ISOs capture natural colors and reduce grain, especially in direct sunlight․ This setting is perfect for landscapes and portraits under clear skies, preserving the vibrancy and clarity of the scene․ Always pair it with appropriate aperture and shutter speed to maintain balanced exposure and achieve professional-quality results in sunny environments․
High ISO for Low-Light Situations
In low-light conditions, a high ISO (800-6400) helps capture images by amplifying sensor sensitivity․ While higher ISOs introduce noise, modern cameras minimize this issue․ Use high ISOs for sunrise, sunset, or indoor-outdoor transitions․ Pair with wide apertures and slower shutter speeds to maintain exposure balance․ Noise reduction tools can refine results, ensuring sharp, vibrant images even in challenging lighting․ This setting is crucial for capturing details in dim outdoor environments without sacrificing quality․
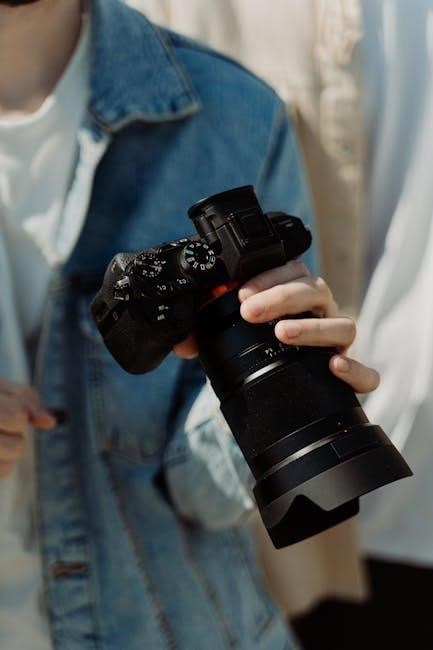
Focusing Techniques
Focusing techniques are crucial for sharp images․ Manual focus offers precision control, especially for stationary subjects, while autofocus excels with moving subjects, ensuring clarity in dynamic outdoor shots․
Manual Focus for Precision
Manual focus provides unparalleled control, ideal for stationary subjects like landscapes or portraits․ By adjusting the focus ring, you ensure sharpness exactly where desired, minimizing autofocus errors․ This method is particularly useful in low-light conditions or when shooting through obstacles․ For precise composition, use live view or focus peaking to confirm sharpness․ Practice makes perfect—mastering manual focus enhances your ability to capture professional-grade images in any outdoor setting․
Autofocus Modes for Moving Subjects
For dynamic outdoor photography, autofocus modes are crucial for capturing sharp images of moving subjects․ Use Continuous AF or Subject Tracking to maintain focus on animals, vehicles, or fast-moving objects․ These modes predict motion and adjust focus in real time, ensuring clarity․ Pair them with a fast shutter speed to freeze action․ Experiment with different autofocus settings to master tracking subjects in various lighting conditions and compositions, enhancing your outdoor photography results significantly․
White Balance and Color Accuracy
Adjusting white balance ensures natural colors in outdoor photos․ Use presets like “Daylight” or “Cloudy” to match lighting conditions, or shoot in RAW for post-processing flexibility, enhancing color accuracy and vibrancy․
Adjusting White Balance for Natural Colors
White balance ensures accurate colors in outdoor photography․ Use the “Daylight” preset for sunny conditions or “Cloudy” for softer tones․ Experiment with “Shade” to warm up shadows․ For creative control, shoot in RAW and adjust white balance during post-processing․ Manual adjustments allow precise color temperature settings, enhancing realism․ Use your camera’s built-in presets or customize for specific lighting scenarios to capture natural hues and vibrant details in every shot, ensuring your images reflect the true beauty of the outdoors․
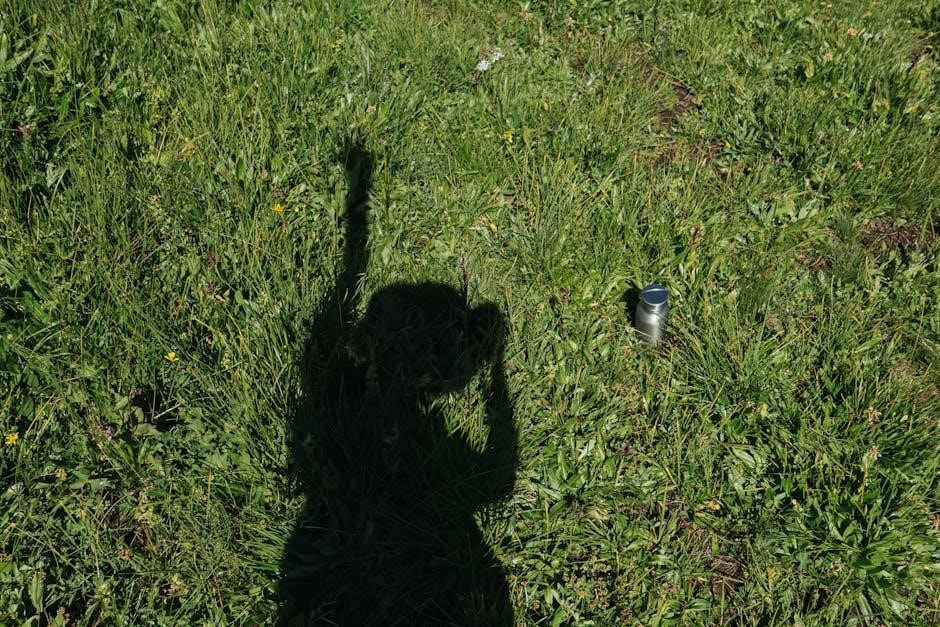
Composition Tips for Outdoor Photography
Effective outdoor photography relies on the rule of thirds, leading lines, and framing elements․ Use symmetry and natural features to create balanced, visually appealing compositions․
Rule of Thirds and Leading Lines
The rule of thirds enhances composition by dividing the frame into thirds both vertically and horizontally, placing subjects at intersection points for balanced shots․ Leading lines guide the viewer’s eye to the focal point, using elements like roads, shorelines, or trails․ These techniques create dynamic, visually appealing images, making outdoor scenes more engaging and professional․ Experiment with symmetry and natural frames to add depth and interest to your photography․
Additional Accessories for Outdoor Photography
Essential accessories include a sturdy tripod, neutral density filters, and a polarizing filter to control light and enhance image quality effectively in various outdoor conditions․
Using Tripods for Stability
A sturdy tripod is indispensable for outdoor photography, especially in low-light conditions or when using slow shutter speeds․ It prevents camera shake, ensuring sharp images and steady compositions․ Look for a tripod with adjustable legs and a robust build to handle uneven terrain․ Using a tripod allows you to experiment with manual settings confidently, knowing your camera remains stable․ This accessory is particularly valuable for landscapes, long exposures, or astrophotography, where even slight movements can ruin a shot․ Invest in a reliable tripod to elevate your outdoor photography game and achieve professional results․
Filters for Enhancing Outdoor Shots
Filters are powerful tools for enhancing outdoor photography․ A polarizing filter reduces glare, enhances colors, and deepens skies, while neutral density (ND) filters control light for slower shutter speeds․ Graduated ND filters balance bright skies with darker landscapes․ These accessories help achieve desired effects in-camera, reducing post-processing needs․ Using filters creatively can elevate your outdoor shots, capturing vibrant hues and dramatic contrasts without compromising image integrity․ Experiment with different types to refine your style and master the art of outdoor photography․
Troubleshooting Common Issues
Identify and resolve issues like overexposure by adjusting aperture or shutter speed․ Correct underexposure with ISO tweaks․ Minimize camera shake with faster speeds or tripods for sharp images․
Fixing Overexposed or Underexposed Images
Overexposed images often occur in bright light, washing out details․ To fix, reduce aperture, lower ISO, or increase shutter speed․ For underexposure, increase ISO, open aperture, or slow shutter speed․ Use the camera’s histogram to gauge exposure accuracy․ Bracketing shots can help capture a range of exposures, later merged for optimal results․ Adjusting in post-processing is also effective, but achieving proper exposure in-camera saves time and ensures better image quality․ Practice these adjustments to master lighting challenges in outdoor photography․
Minimizing Camera Shake
Camera shake often occurs due to hand movement or low light, causing blurry images․ To minimize it, use a tripod for stability, especially in low-light conditions․ Enable image stabilization if your lens or camera supports it․ Keep shutter speed above 1/60th of a second to avoid blur․ Hold the camera firmly, with one hand under the lens and the other gripping the body․ Press the shutter gently and use a remote or timer for added stability․ These practices ensure sharper, clearer photos in outdoor photography settings․
Mastering manual settings enhances outdoor photography by providing precise control over exposure and composition․ Regular practice and understanding the exposure triangle are key to achieving consistent, professional results․
Final Tips for Mastering Manual Settings
To refine your outdoor photography skills, practice regularly and experiment with different settings․ Review your shots to identify improvements and adapt to lighting conditions․ Consider these tips:
- Shoot in RAW for greater editing flexibility․
- Use a tripod for stability in low-light situations․
- Experiment with filters to enhance colors and reduce glare․
- Stay patient and persistent, as mastering manual mode takes time․
By consistently applying these practices, you’ll achieve professional-quality results in your outdoor photography․